
“Do you want to climb a mountain tomorrow?” Joe proposed. At this point of our trip, we were living out of a campervan and spontaneously deciding each day’s adventures. “Sure, let’s go scale that 5,000-foot peak!” I excitedly agreed.
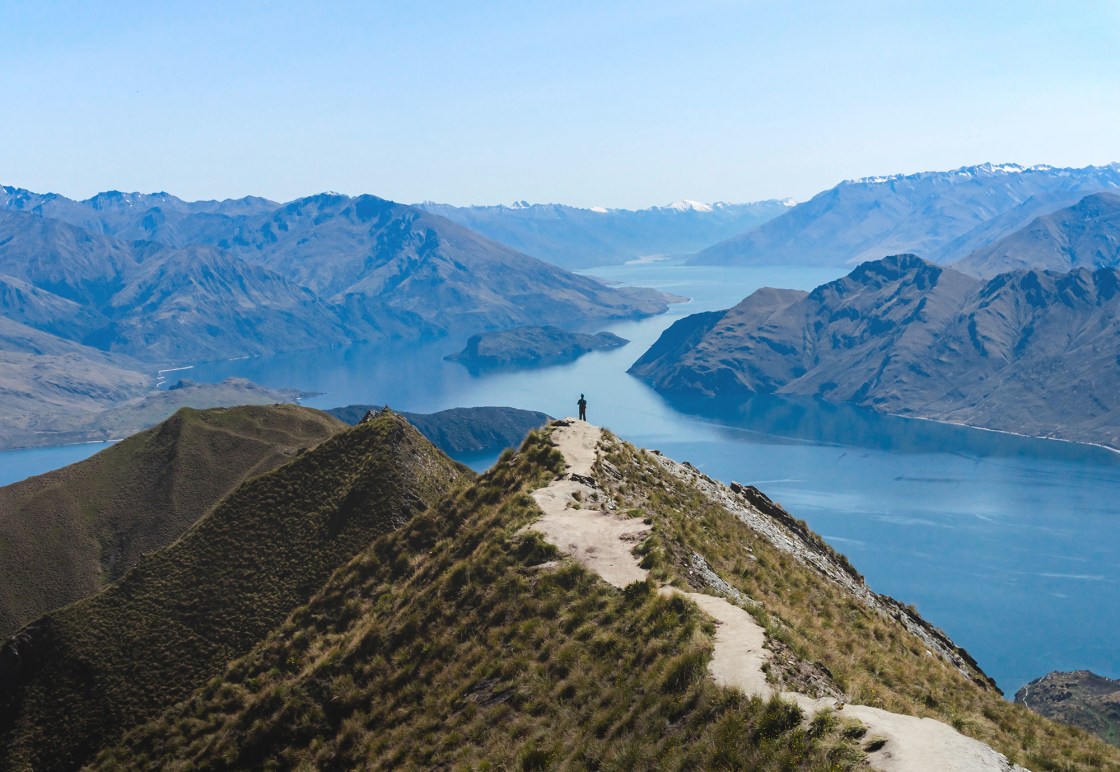
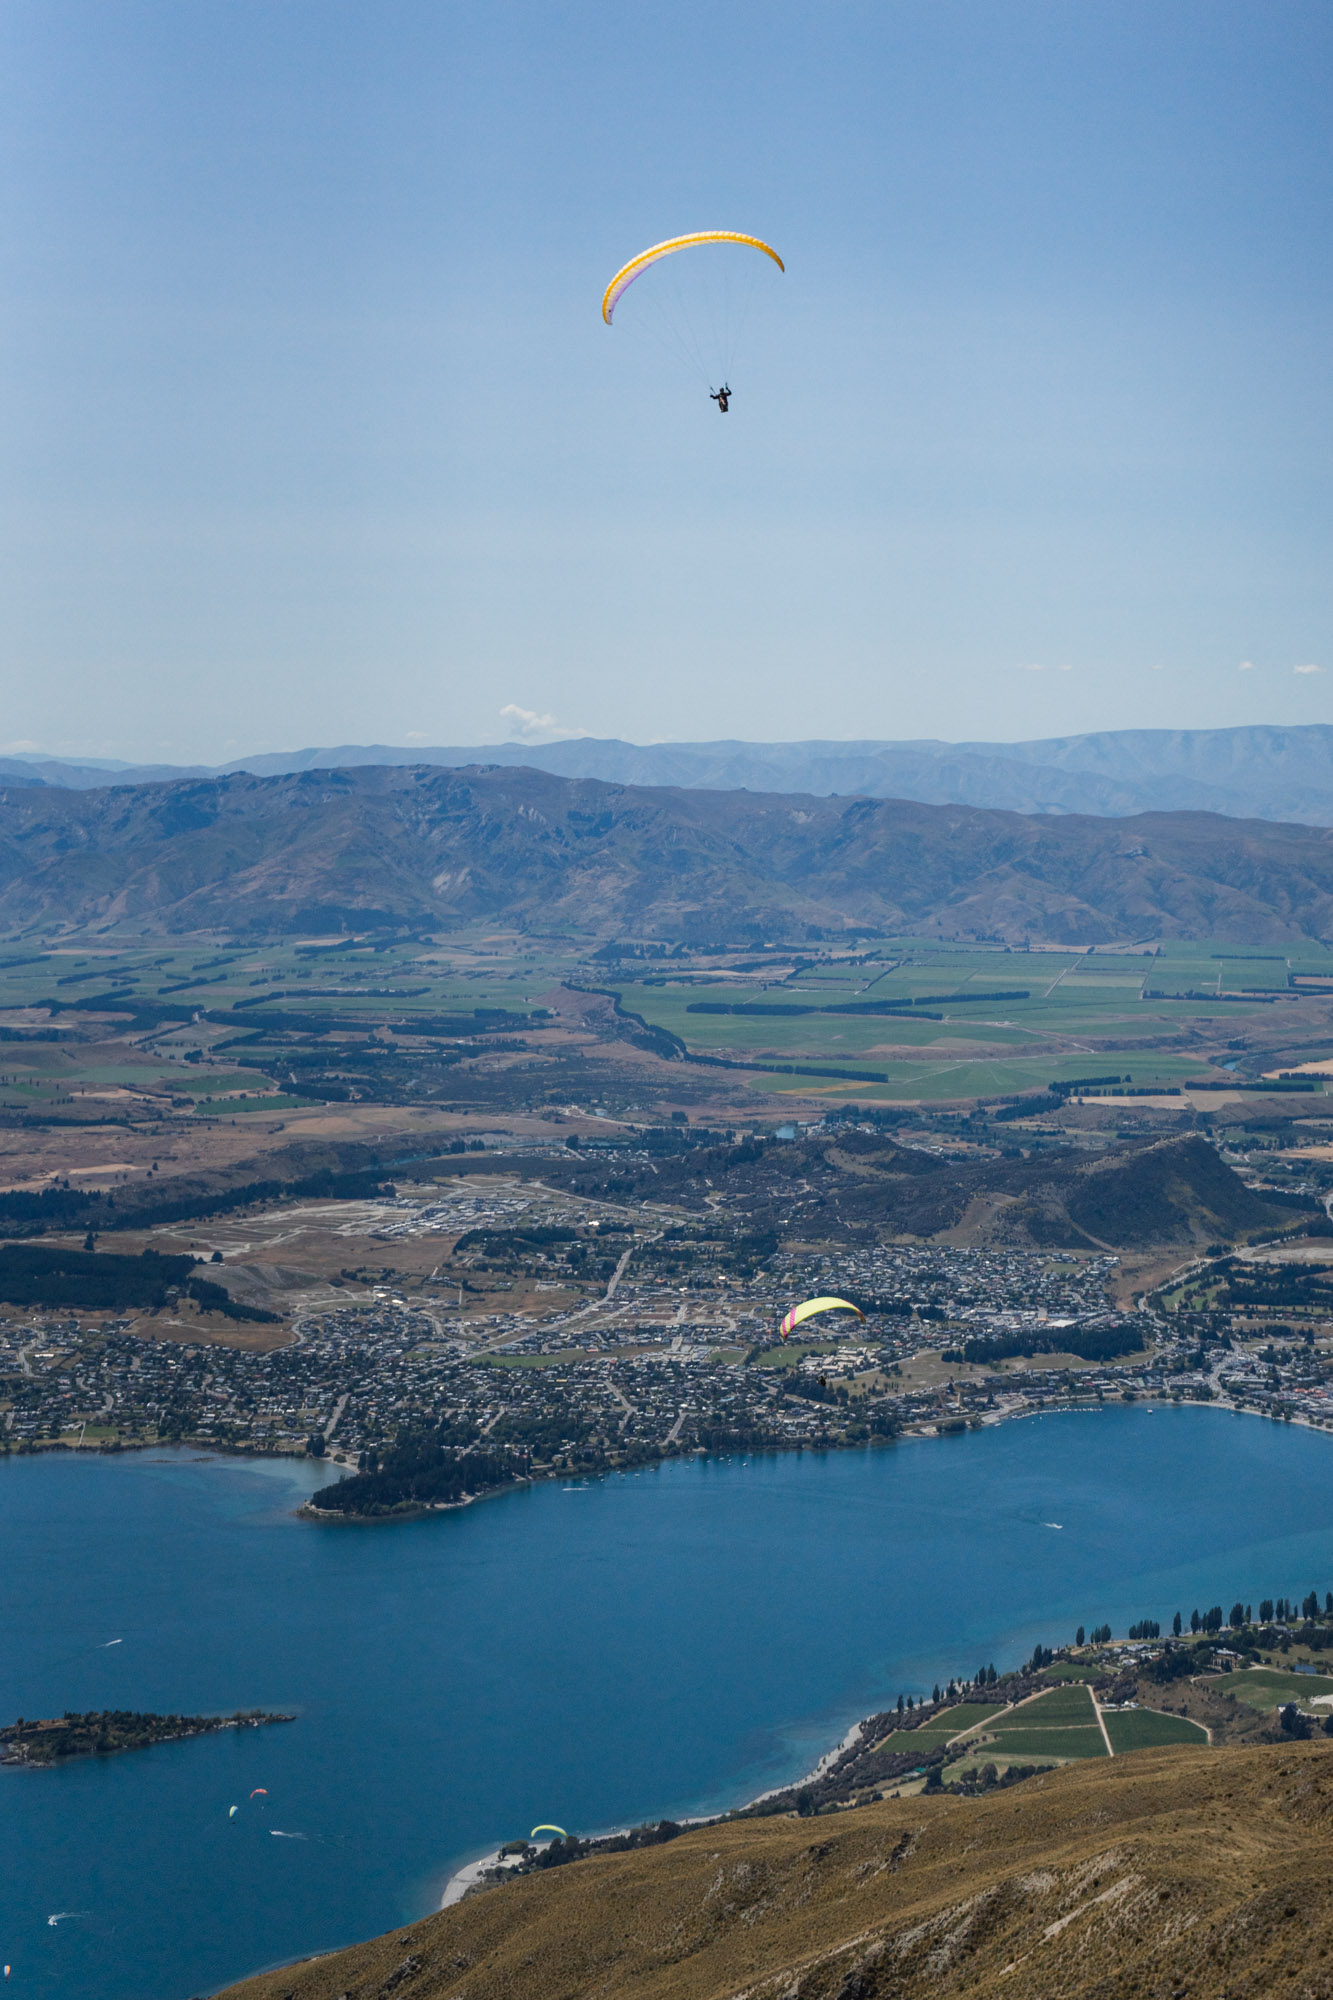
Roy’s Peak offers one of the most incredible views of New Zealand’s Southern Island. Situated near the adrenaline-filled Queenstown (42mi) and Wanaka (4mi), the hike is a popular draw for trampers (New Zealand for trekkers/hikers) looking to capture picturesque views of Mount Aspiring and Lake Wanaka.
Want to feel on top of the world? Read on for tips and our experience tramping Roy’s Peak.
Getting to Roy’s Peak
The trailhead is located by the Roy’s Peak car park just off of Mount Aspiring Road. The parking lot is fairly small, so make sure you get there early to claim your spot. Additionally, bring cash because there is a $2 track fee at the start of the trail.
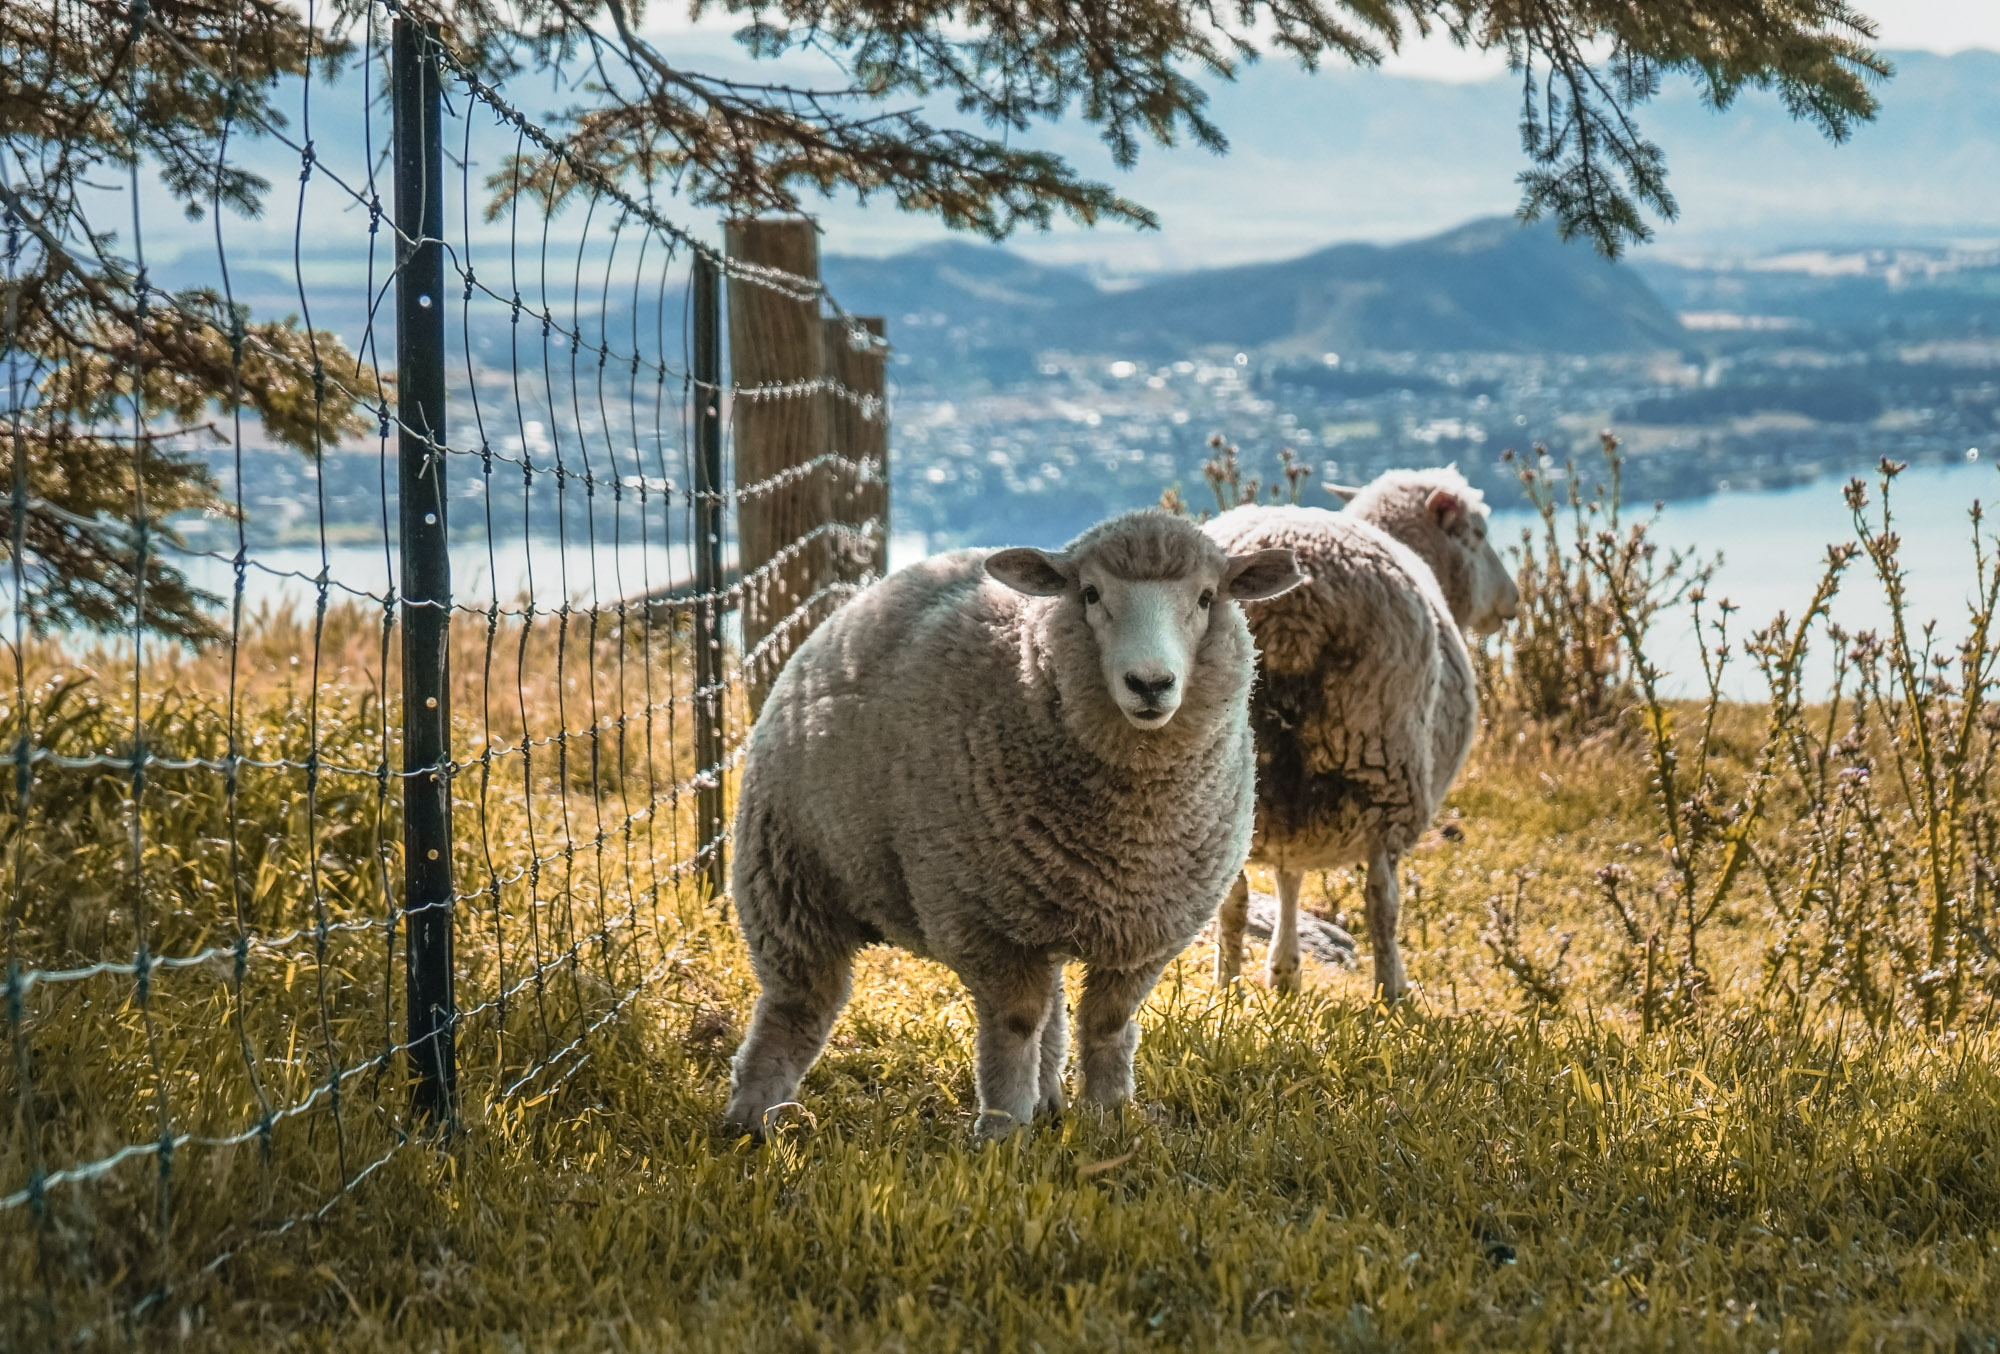
The trail is closed between October 1st through November 10th annually for lambing season (warning: there will be lots of sheep!).


We chose to complete the trail in early January and arrived at the carpark by 8 AM. January is peak season for sunny weather and long New Zealand days, but we never felt the trail to be overcrowded, considering its popularity. After pulling into the car park, we ate breakfast, assembled our sandwiches out of the back of our campervan, and were ready to go by 8:30 AM.
Roy’s Peak Difficulty – Can I make it to the top?

When we first researched the trek, we were slightly nervous. We consider ourselves to be more than casual hikers and in-shape, but the “hard” rating and relentless incline reported on All Trails were a tad daunting. The entire out and back track is approximately 10 miles (16km), with a total elevation change of nearly 4,000 feet to the top – that’s almost an entire mile straight uphill (and another back down)!
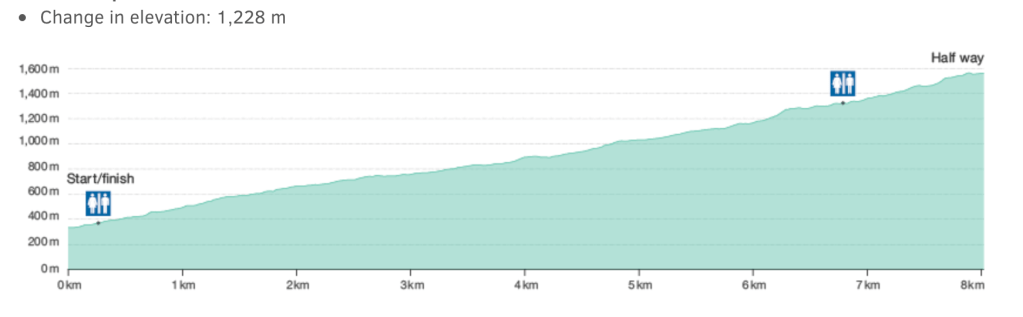
Expect the hike to take roughly 5-6 hours to complete. It took us 3 hours to reach the 5,000 foot summit, enjoy lunch, capture photos, and then 2.5 hours to embark down.

The famous lookout is at the 4 mile (6.5km) point, and then an additional mile (1.5 km) or 30 mins to the final peak. The last stretch was the hardest, but don’t give up before you get there! The key to the first half is to build your momentum and keep trekking. Take photos on your way down and focus on the goal of reaching the top.
Hiking back down is equally difficult as your feet need to grip the ground, to prevent you from falling. We knew we would feel it in our quads the next day! The track is wide and clearly marked, so as long as you take your time, the terrain should be no problem.

The entire track zig zags up Mount Roy with NO shade. Expect to be fully in the sun as you ascend to the top. By timing the start of your hike for sunrise, you can avoid the heat (we did our best to get there early, but folks were already descending as we started our trek).
What to bring hiking?


Water: It’s crucial to bring PLENTY of water. We ran into hikers that were already running out on the way up, and you don’t want to be in their situation. Each of us carried about two liters of water, but we could’ve brought twice that. There are no water spickets/refills, so what you bring is all you have.
Sunscreen: With no shade covering, this is also key. We brought a whole bottle of sunscreen and reapplied every hour to prevent getting burnt.
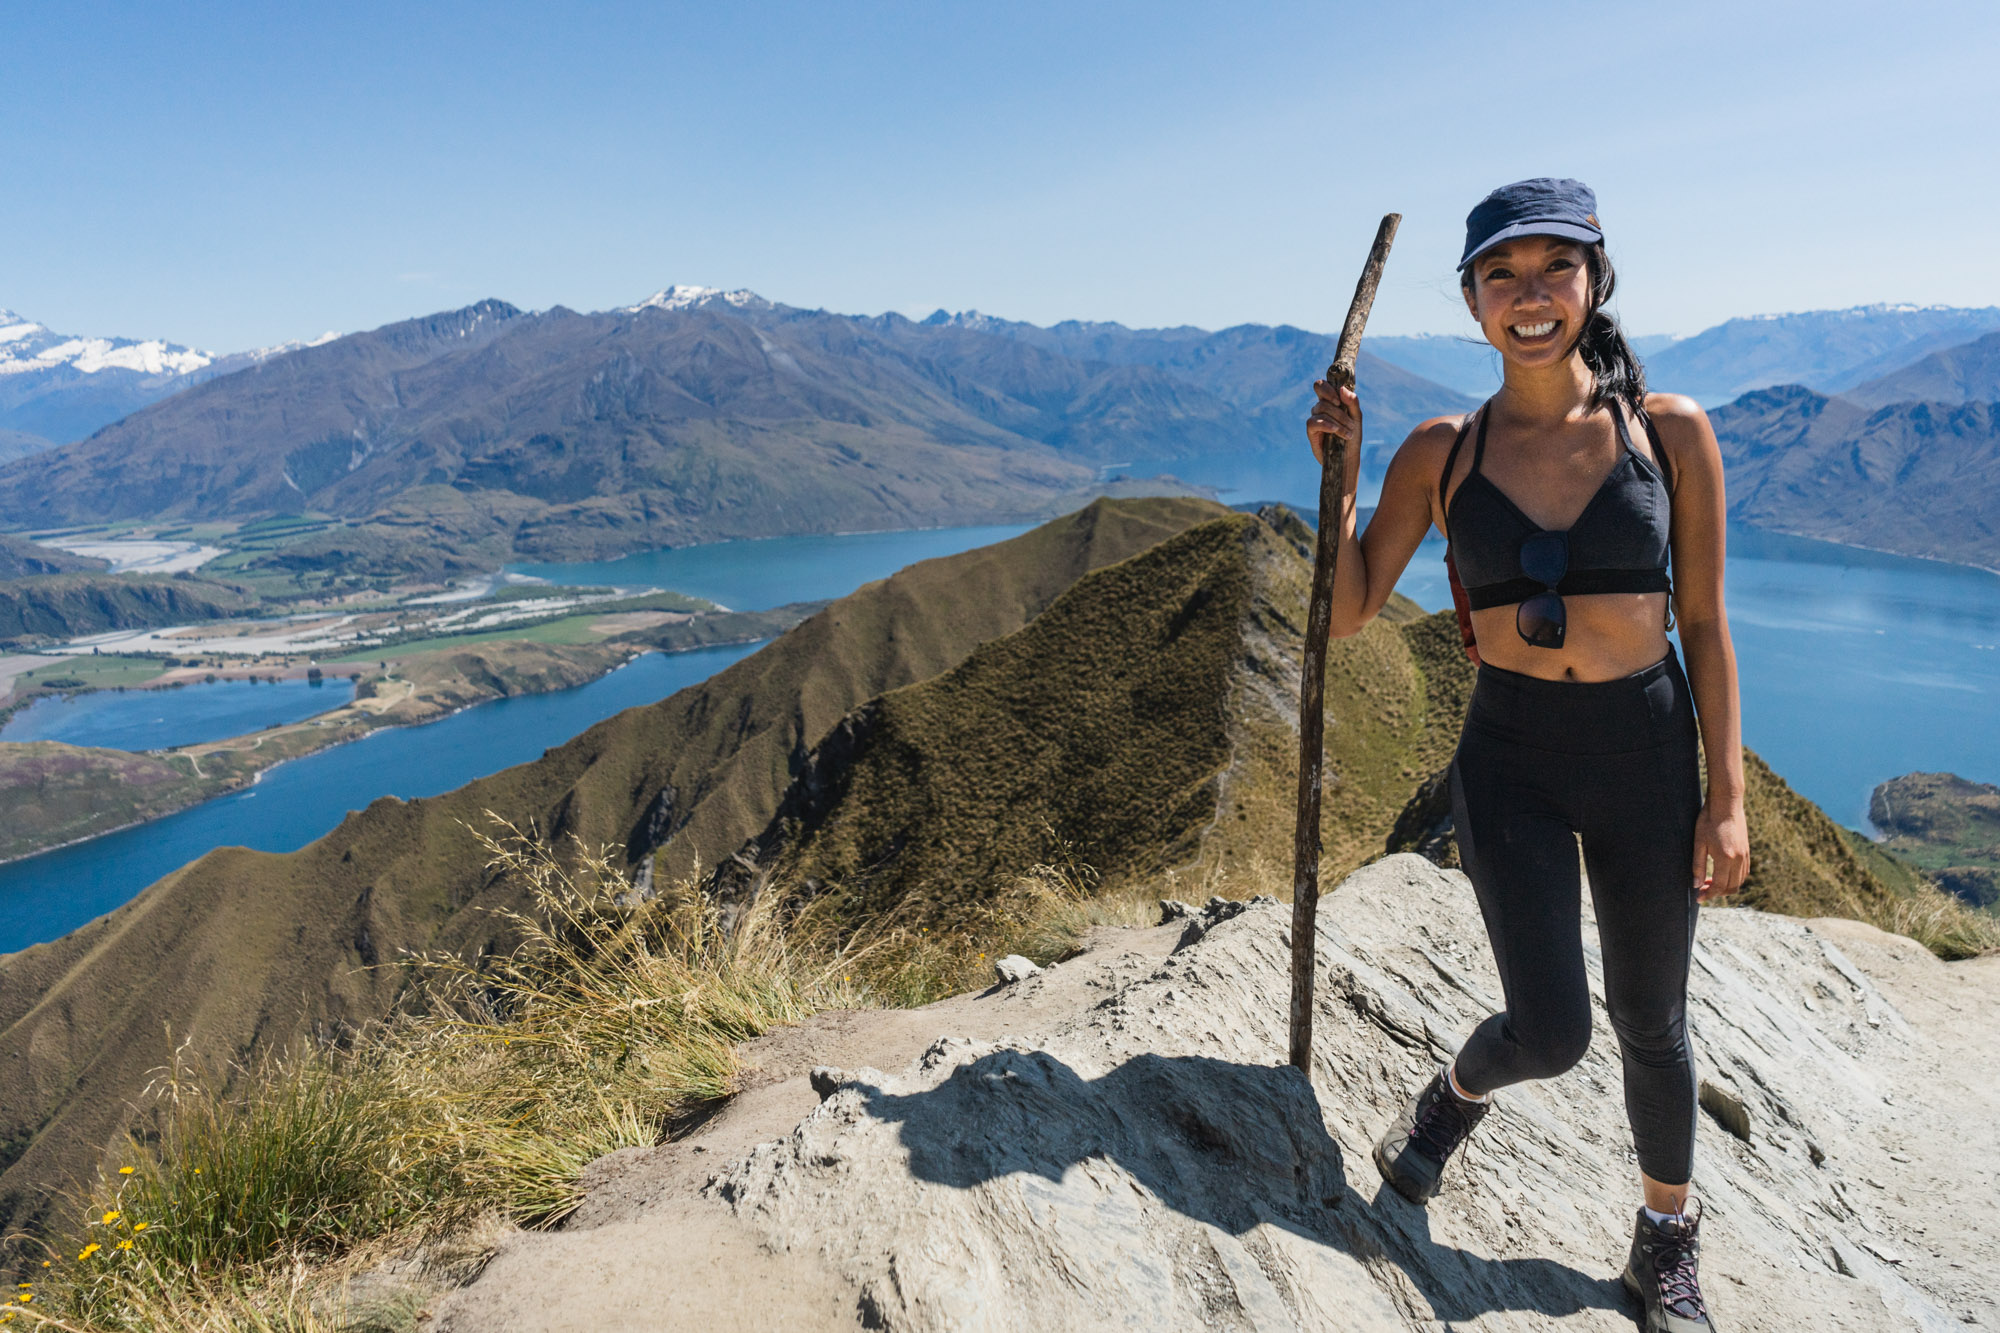
Walking stick: Normally, we find these unnecessary, but we were thankful to find walking sticks left by previous hikers at the beginning of the trailhead. This stick made a huge difference and balanced us out on the rocky terrain. I even got to feel a bit like Gandalf the Gray from LOTR, shouting, “you shall not pass” at the top of the peak!

Lunch: We brought sandwiches, fruit, and sour candy to the top. You’ll want to put some simple and complex carbohydrates in your system to keep you alert on your climb back down.
Hiking shoes, hats and clothes, sunglasses: Sturdy hiking or tennis shoes are a must for the uphill hike. Hats are also crucial to protect your face from the sun. Layering dry-proof, breathable clothing will help you adjust to the temperature throughout the trek. Looking back, I wish I had worn lighter colors to reflect the sun more.

Worth the hype?
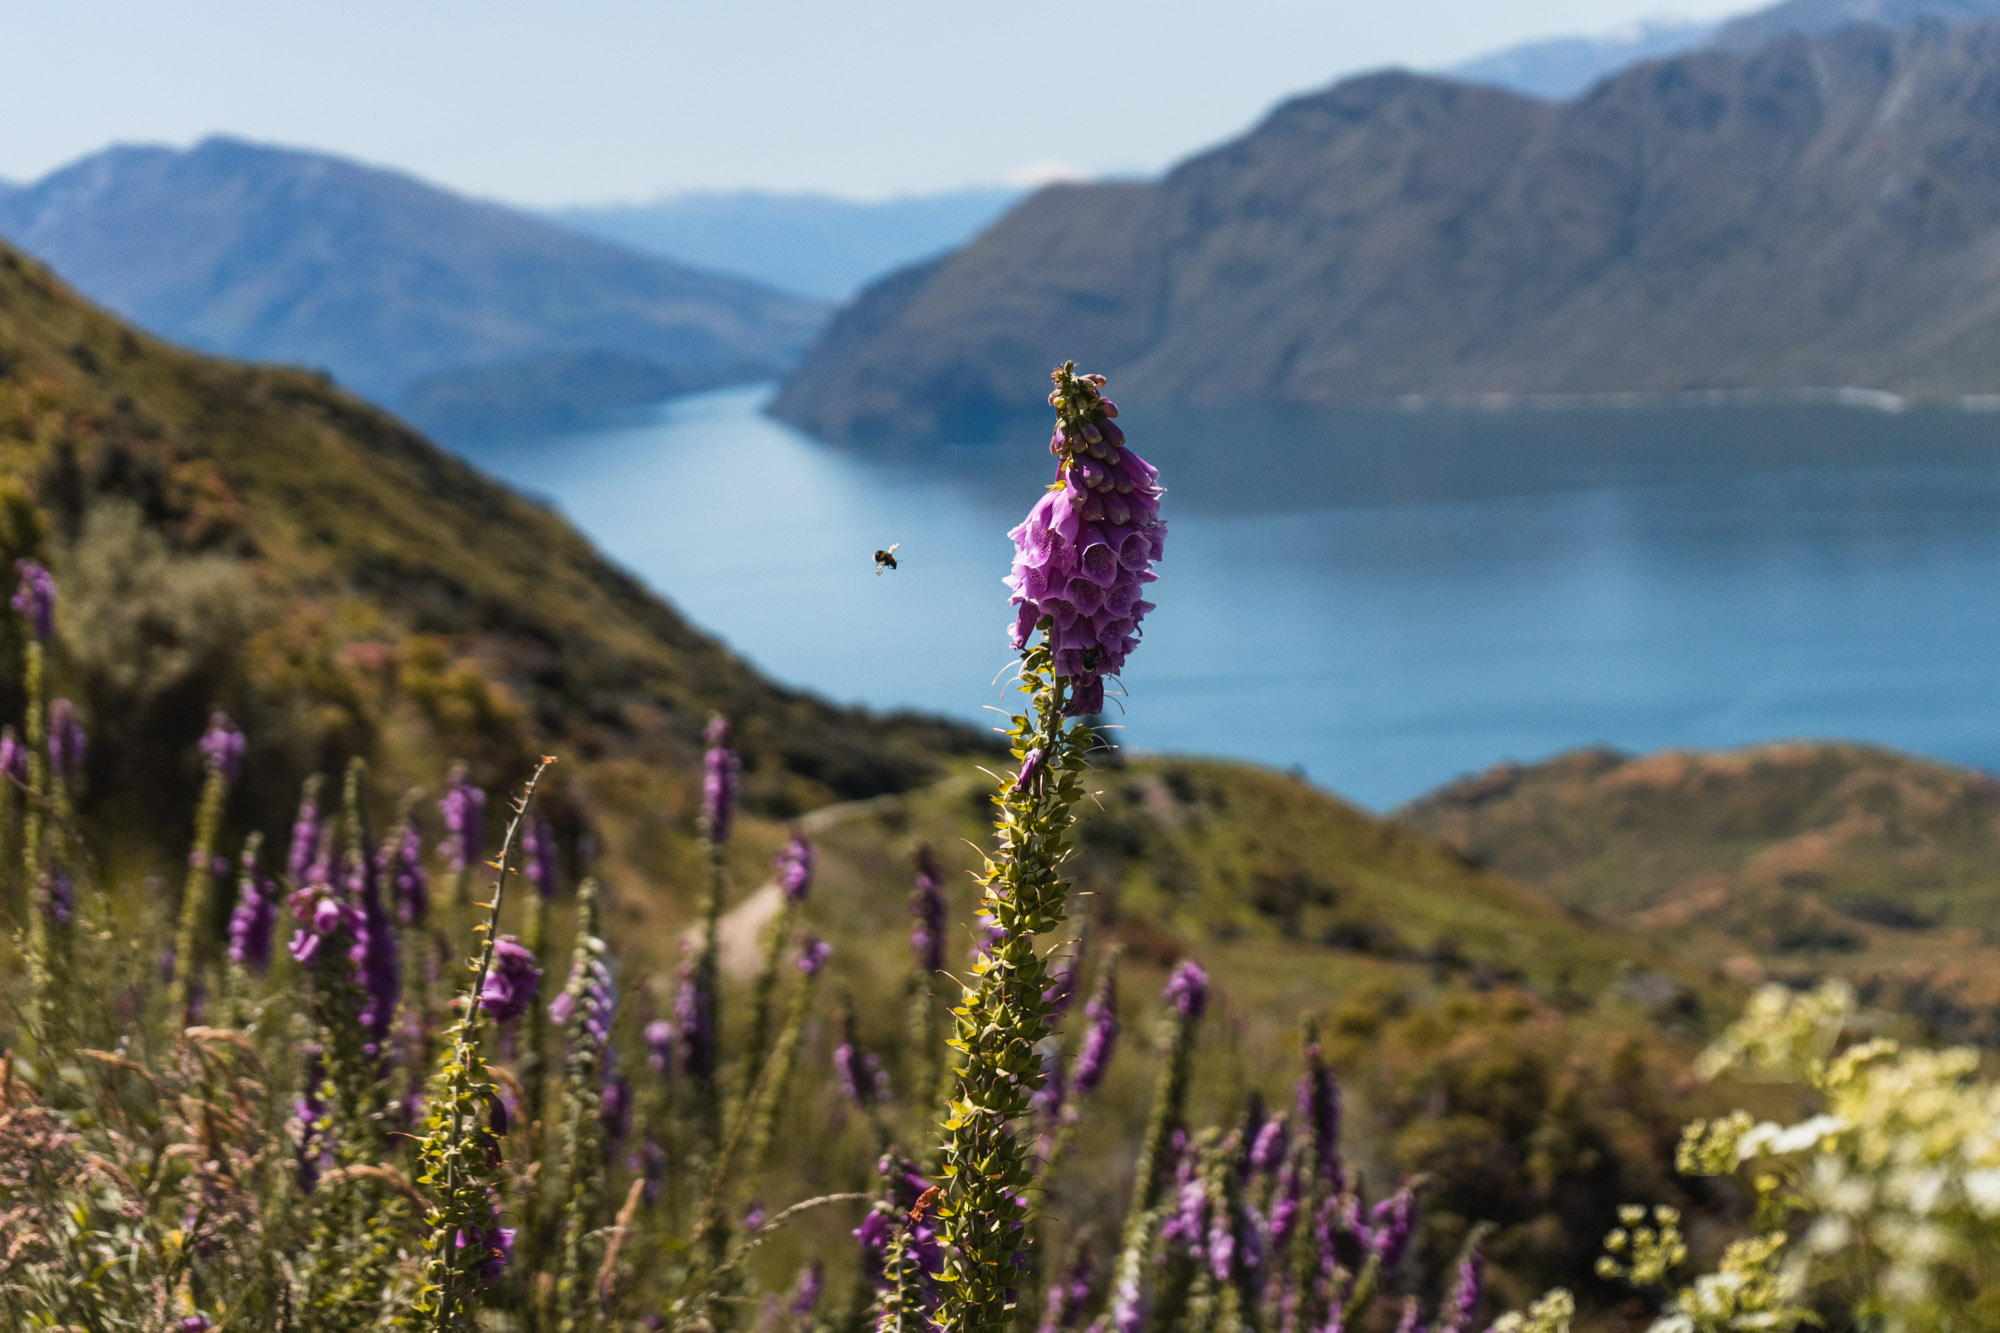
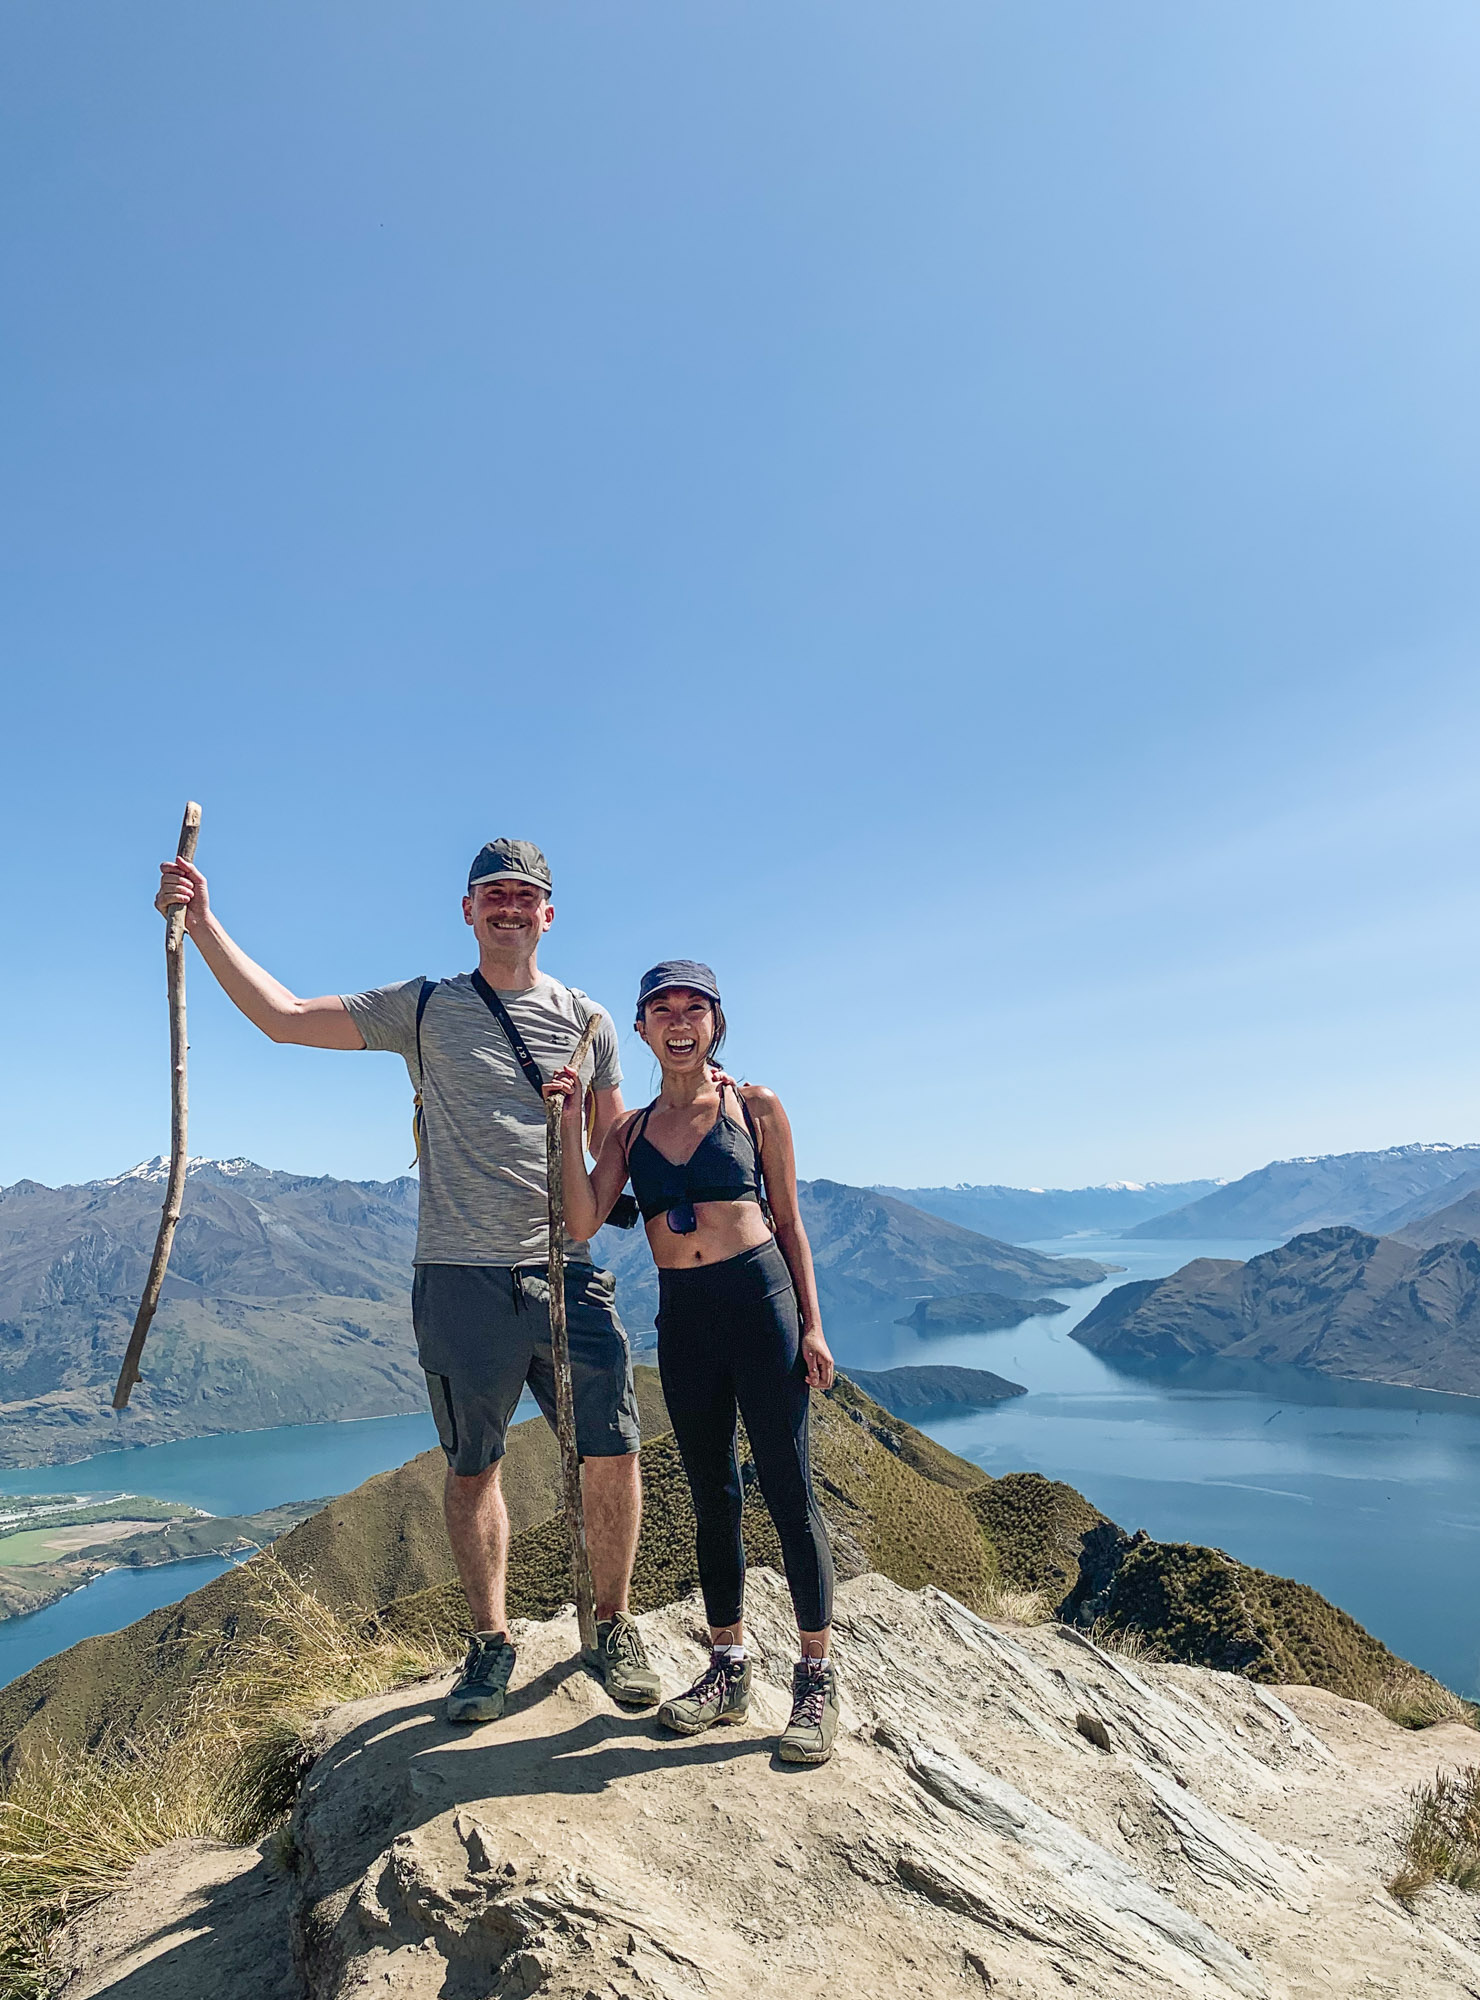
Even though our legs were jello for the following two days, the hike was definitely worth it! The views of the surrounding region are incredible. Some could argue that the switchbacks up the mountain are monotonous, but we could not get over how beautiful Lake Wanaka looked – the azure water looked otherworldly.
One of our favorite parts of the hike was the sheep! The entire route you are greeted by these furry herds that are grazing along the mountaintop. We stopped way too many times to hang out and take photos of them.


After completing this hike we both grew further confident to hike more difficult tracks. It also inspired us to start planning our first overnight hiking trip. When asked if you want to climb a mountain, we dare you to always say “yes”!

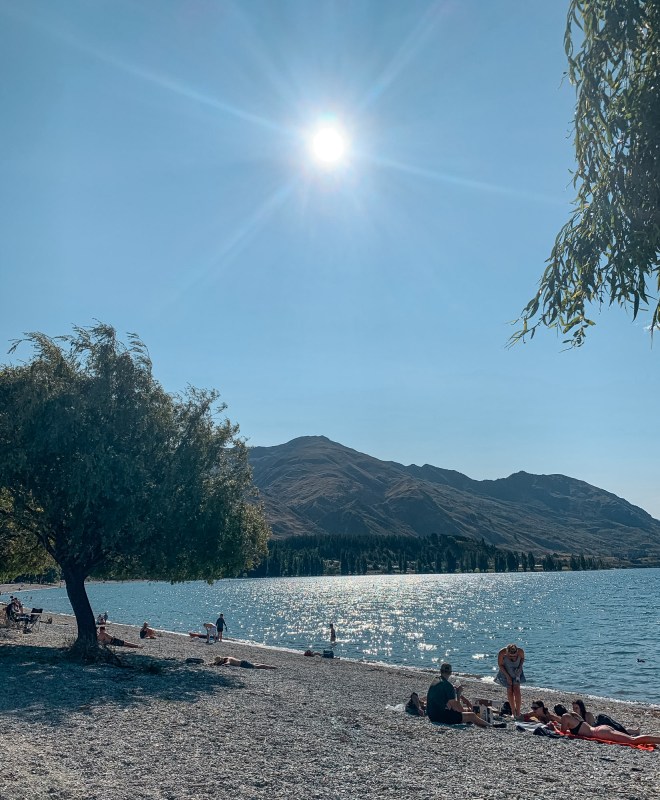
P.S.! Make sure to check out Lake Wanaka after to cool off and enjoy a dip in the lake after your long hike!


One Comment